
When we entered the room we were asked if we wanted to make a sheet of paper, a bookmark, or three postcards. We all chose to make different things. Papa followed a woman over to a table and paid for the projects.
Then we were given a small plastic container and were told to choose three leaves that we would use in our projects. I didn't get a picture of this step. I chose to make a sheet of paper. A woman demonstrated the steps as we all watched.
She put a bamboo screen into the paper-making frame or sugeta.
She showed us how to hold the sugeta and how to get the pulp and water mixture into the frame without messing it up. She showed us how to move it around and then how to slosh out the extra mixture. It looked easier than it was. Little Brother later told me that a thin piece of paper means you're good at paper-making. My piece of paper turned out thick!
She took the screen out of the frame and showed us how to carefully lay out the thin layer of paper mixture on the conveyer belt of the press.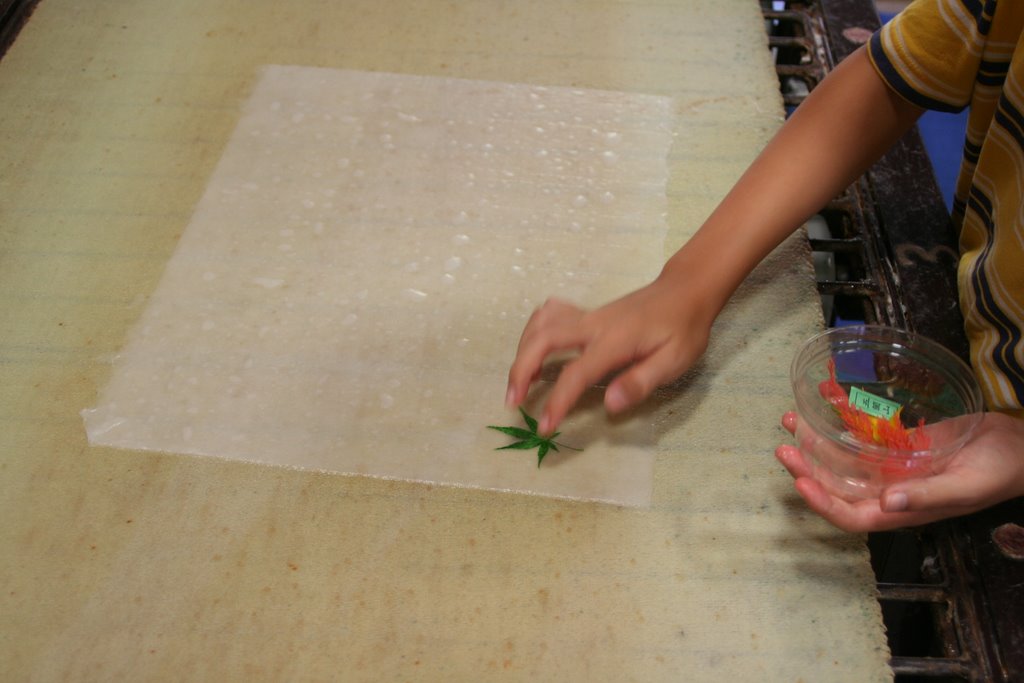
At this stage the dried leaves were put on.
Then it was run through a press to remove excess water and to flatten it.
It was then smoothed out on this table before it was put on the metal dryer.

Since this was a workshop for tourists who couldn't wait for the paper to dry naturally on its own, the paper was put on this metal dryer. Still, it took about 15 minutes to dry.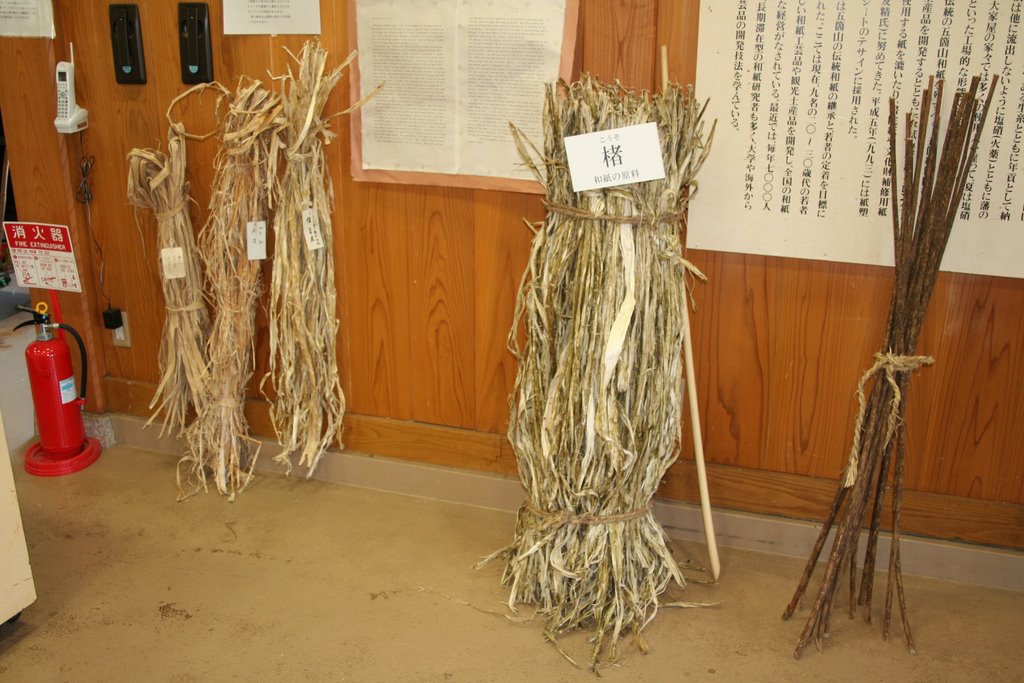
As we were waiting for our projects to dry, I looked around. This bark from the kozo tree is the material that was traditionally used to make paper. It has a stickiness that is useful in making paper. The small limbs on the right would have been stripped like the bundles on the left and then soaked.
August 20, 2006
Making Paper
Subscribe to:
Post Comments (Atom)


No comments:
Post a Comment